

Large image files cause problems everywhere. They slow down your website and hurt your SEO rankings. They get rejected by email systems with attachment size limits. They fill up your phone storage faster than anything else. They take too long to upload to social media platforms.
The standard advice — compress your images — sounds simple. But most people try it once, end up with a blurry, pixelated result that looks worse than the original, and give up. The problem is not compression itself. The problem is doing it wrong.
In this guide we will explain exactly how to reduce image size without losing visible quality — and how to do it for free, in your browser, with no upload and no signup, using SwiftPix.
SwiftPix — Reduce image size free in your browser. No uploads, no signup required.
Why Images Become Blurry When You Compress Them
The blurry result that puts most people off image compression happens for one of three reasons — and understanding them helps you avoid the mistake entirely.
Over-compression: Most free online tools compress images aggressively by default to show impressive file size reductions. Dropping quality below 70% to 75% creates visible compression artifacts — blocky areas, blurry edges and colour banding. The sweet spot for most images is 80% to 85% quality — significant file size reduction with no visible quality difference to the human eye.
Wrong format for the image type: Compressing a PNG screenshot or graphic as a JPG creates visible quality loss around sharp edges and text. The right format choice matters as much as the compression level. PNG for graphics and screenshots, JPG for photos, WebP for web delivery.
Compressing an already-compressed image: Repeatedly compressing the same JPG accumulates quality loss with each pass. Always compress from your original, highest-quality source file — never re-compress an already-compressed image.
Avoid these three mistakes and you can reduce most images by 40% to 70% in file size with zero visible quality difference.
How to Reduce Image Size Without Losing Quality Using SwiftPix
SwiftPix is a free browser-based image tool that compresses and converts images entirely in your browser. No files are uploaded to any server — your images stay completely private on your device throughout the entire process. Here is the step by step method:
Step 1: Open SwiftPix in Your Browser
Go to swiftpix.nzuki.com in any modern browser — Chrome, Edge, Firefox or Brave on desktop or mobile. No account, no installation and no signup required.
Step 2: Load Your Image
Click the upload area or drag and drop your image file. SwiftPix supports JPG, PNG, WebP, HEIC and GIF. Your file loads directly into your browser memory — it is never transmitted to any server.
Step 3: Choose Your Compression Settings
Set your quality level. For photographs use 80% to 85% — this delivers 40% to 60% file size reduction with no visible quality loss. For graphics, logos and screenshots use lossless PNG compression to maintain sharp edges and text. For web delivery, select WebP output at 80% quality for the best balance of size and clarity.
Step 4: Compress and Download
Click Compress — the operation happens instantly in your browser. Compare the output file size to your original. Download your reduced image and it is ready to use immediately — on your website, in your email, on social media or anywhere else you need it.
No upload. No account. No watermarks. No daily limits. Completely free.
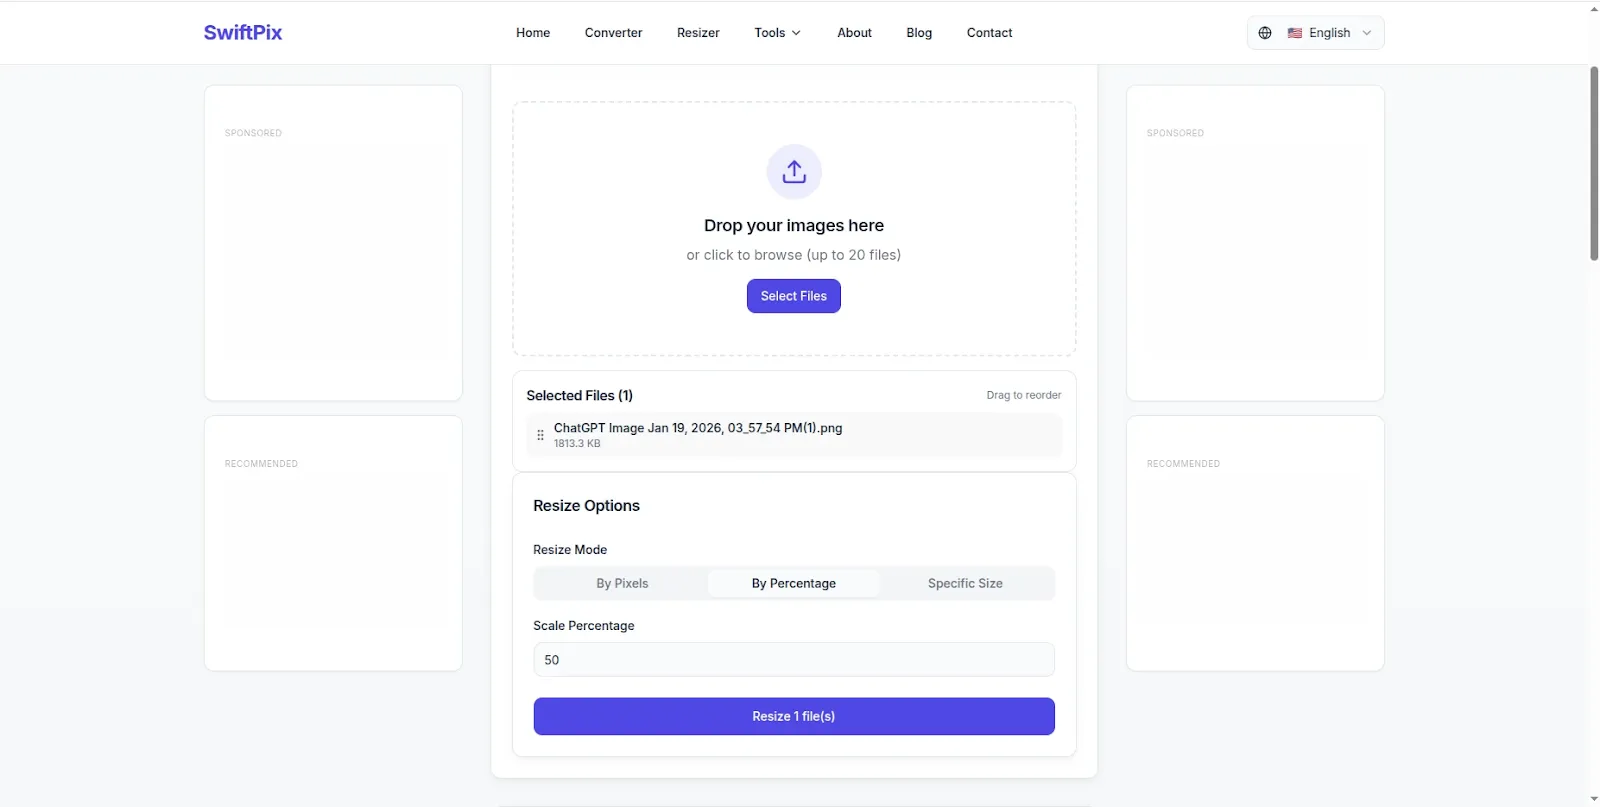
Image file size reduced instantly — sharp, clear result ready to use immediately.
The Science Behind Reducing Image Size Without Quality Loss
Understanding why quality-preserving compression works helps you make the right choices for every image. Here is the key concept:
The human eye is far more sensitive to changes in brightness than to changes in colour. Image compression algorithms exploit this by storing brightness information at full detail while reducing the precision of colour data — in ways that are essentially invisible to human perception.
At quality settings of 80% and above for JPG, the colour data reduction is so subtle that even professional photographers examining images side-by-side at 100% zoom struggle to identify the compressed version. The file size reduction, however, is dramatic — typically 40% to 65% smaller than the original.
This is why the common fear that compression always means visible quality loss is wrong. Done correctly — at the right quality level, in the right format, from the original source file — compression is invisible.
How Much Can You Reduce Image File Size?
Here are realistic file size reductions you can achieve with quality-preserving compression using SwiftPix:
JPG photo at 85% quality: A typical 4MB smartphone photo reduces to 800KB to 1.2MB — a 70% to 80% reduction with no visible quality difference for web and screen use.
PNG graphic converted to WebP at 80% quality: A 500KB PNG logo or graphic reduces to 80KB to 150KB — a 70% to 85% reduction with excellent visual quality for web display.
JPG at 80% quality for website use: A 2MB product photo for an e-commerce website reduces to 300KB to 500KB — fast enough for excellent page loading speeds while maintaining professional visual quality.
PNG screenshot compressed as PNG: A 1MB screenshot reduces to 200KB to 400KB with lossless PNG compression — identical quality, significantly smaller file.
Best Practices for Different Use Cases
Website and blog images: Target file sizes of 100KB to 300KB for standard blog post images. Use JPG at 80% to 85% for photographs. Use WebP at 80% quality for best results across all image types. Images over 500KB will noticeably slow your page loading speed and hurt your Core Web Vitals score.
Email attachments: Most email systems handle attachments up to 10MB but recipients with slow connections appreciate smaller files. Compress photos to 300KB to 500KB for email use — large enough for good quality at full screen, small enough to send and receive quickly.
Social media uploads: Each platform recompresses your images on upload — meaning you get the best results by uploading already-optimized files rather than large originals. Instagram, Facebook and LinkedIn all produce better outputs when you upload a well-compressed image rather than letting the platform compress a large one.
Phone and device storage: Use SwiftPix to compress large photos before archiving them. A 4MB photo compressed to 800KB at high quality looks identical on screen and in print but takes up 80% less storage space — letting you store five times as many photos in the same space.
Government forms and portals: Many official portals require images under 50KB or 100KB. See our dedicated guide on how to compress an image to 50KB free for the specific technique for official document submissions.
Frequently Asked Questions
What is the best quality setting to reduce image size without losing quality?
For most photographs, 80% to 85% JPG quality gives the best balance — significant file size reduction with no visible quality loss in normal viewing conditions. For graphics and images with text, use lossless PNG compression to maintain sharp edges. For web images, WebP at 80% quality gives the best combination of small file size and visual quality.
Is SwiftPix free for image compression?
Yes — completely free. No hidden fees, no daily limits, no account required. SwiftPix is built and maintained by VelocityAI Solutions as a free tool for everyone.
Does SwiftPix upload my images to a server?
No — SwiftPix processes all compression locally in your browser. Your images never leave your device. This is a significant privacy advantage over online tools that upload your files to remote servers for processing.
Can I reduce the size of multiple images at once?
Yes. SwiftPix supports batch processing — drag and drop multiple images simultaneously and compress them all in a single operation. Ideal for optimizing all images on a website, compressing a folder of photos or processing multiple product images for an online store.
Why is my compressed image still blurry?
Blurriness after compression is almost always caused by one of three things: quality set too low (below 70%), wrong format choice (compressing PNG graphics as JPG), or starting from an already-compressed low-quality source file. Use quality settings of 80% to 85%, choose the right format for your image type, and always compress from your original high-quality source file.
Does SwiftPix work on mobile?
Yes. SwiftPix works fully on Android and iOS browsers without any app installation. Compress images directly on your smartphone before uploading to websites, sending by email or sharing on social media.
Conclusion
Reducing image size without losing quality is not a compromise — it is a skill. Use the right quality settings, choose the right format for your image type, and always compress from your original source file. Done correctly, you can reduce most images by 50% to 70% in file size with zero visible quality difference.
SwiftPix makes it completely free — compress any image instantly in your browser with no uploads, no account and no privacy risk. Your files stay entirely on your device throughout the process.
Go to swiftpix.nzuki.com and start reducing your image sizes today.
Also check our other free browser-based image tools: convert WebP to JPG free, convert JPG to PNG free, compress images to 50KB and resize images for Instagram.
🚀 Need a Professional Website or Custom Tool for Your Business?
VelocityAI Solutions builds AI-powered websites, mobile apps and business automation tools for businesses in Nairobi and beyond — at startup-friendly prices.
✅ Web Development | ✅ Mobile Apps | ✅ Business Automation | ✅ Cybersecurity
🌐 velocity-ai-solutions.nzuki.com
💬 WhatsApp: +254 735 644 100
📩 info.nzuki@gmail.com


0 Comments